
IRRIGATION / PRACTICAL GUIDES
Inline vs Endline Drippers: Which Do You Need?
By James Thompson
Some links in my articles are affiliate links. I may earn a commission when you buy through them.
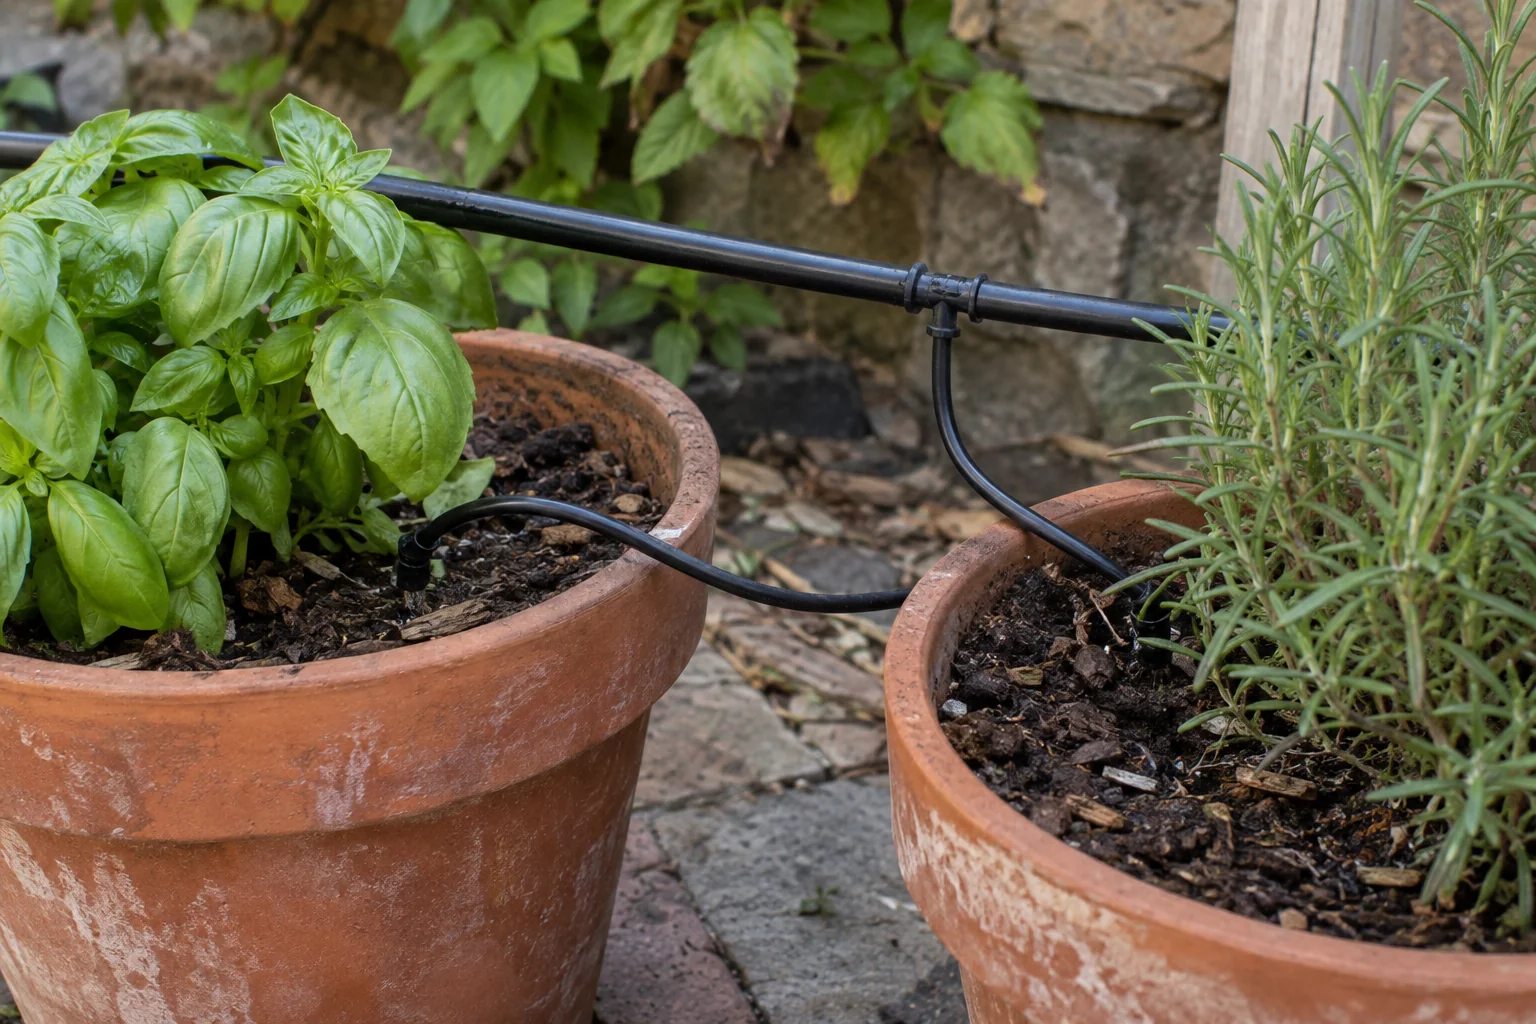
Inline drippers sit along a pipe route, allowing the pipe to continue to another watering point. Endline drippers finish a branch at its watering point. Start with the route you want the tubing to follow, then choose emitters designed for those positions.
The practical answer
Use inline drippers where the microtube continues to another watering point; use endline drippers where a branch finishes at the plant. Draw the route before counting emitters and connectors.
Useful product route: Hozelock pressure-compensating drippers or Hozelock 4 mm T-piece connectors
Draw the pipe route before choosing emitters
For several pots in a row, a compatible inline arrangement can run between successive containers. For scattered pots, individual branches ending at each pot may be easier to move and maintain. Neither layout automatically delivers the right amount of water: flow, pressure and plant requirements still matter.
On your sketch, mark the main supply, each branch and every watering point. Also mark where the line finishes. This catches a simple ordering mistake: buying enough emitters but forgetting how the final section will be closed.
Does the tube continue?
The pipe continues beyond the watering point. Finish the final section as instructed.
The branch ends at its watering point.
Inline means a position, not a guaranteed connection
Manufacturers use different connection arrangements. An emitter may join two lengths of micro tube, install into a larger supply pipe, or support more than one permitted configuration. Hozelock’s dripper comparison illustrates how installation positions differ across its range.
Check the exact model’s diagram rather than relying on the word “inline” in a retailer title. Pipe diameter alone is insufficient if a product uses a proprietary fitting. Read how to measure irrigation tubing when identifying an existing system.
Choose the flow separately
Installation position and flow control are separate decisions. An inline emitter can have a fixed flow; another product may be adjustable. Pressure compensation is another feature again. Our pressure-compensating versus adjustable dripper guide explains that distinction.
Do not assume that two emitters with the same stated hourly output perform equally on a low-pressure supply. Check their operating pressure and any restrictions on branch length or emitter count.
A practical layout comparison
- Fixed row of similar containers: consider compatible inline emitters, with the final outlet finished as instructed.
- Separate pots that move frequently: consider short individual branches with suitable endline emitters.
- Mixed pot sizes: decide how to provide different water quantities before choosing the pipe route.
- Existing system: identify its range and connections before adding either type.
Test after installation
Run the completed layout and collect water from representative emitters for the same period. Include the first and last watering points. Watch for leaks at both sides of inline connections and for branches pulling loose when pots are moved.
If one pot stays dry, inspect its route before simply increasing the watering duration for the whole system. A local obstruction should not be compensated for by overwatering every other container.
Product examples on Amazon
Compare these examples with your chosen manufacturer’s specifications before ordering. These are individual product examples, not a confirmed compatible bundle.
Hozelock in-line pressure-compensating drippers — view on Amazon
Check the connection size, rated flow and permitted pressure for your system.Hozelock 4 mm T-piece connectors — view on Amazon
A branching-fitting example; check compatibility with your chosen micro hose.Hozelock 4 mm straight connectors — view on Amazon
A joining-fitting example for compatible micro hose.
Explore all irrigation guides →
Sources
Choosing the emitter model
Compare dripper types, flow rates and product compatibility →