
IRRIGATION / PRACTICAL GUIDES
How to Measure Irrigation Tubing
By James Thompson
Some links in my articles are affiliate links. I may earn a commission when you buy through them.
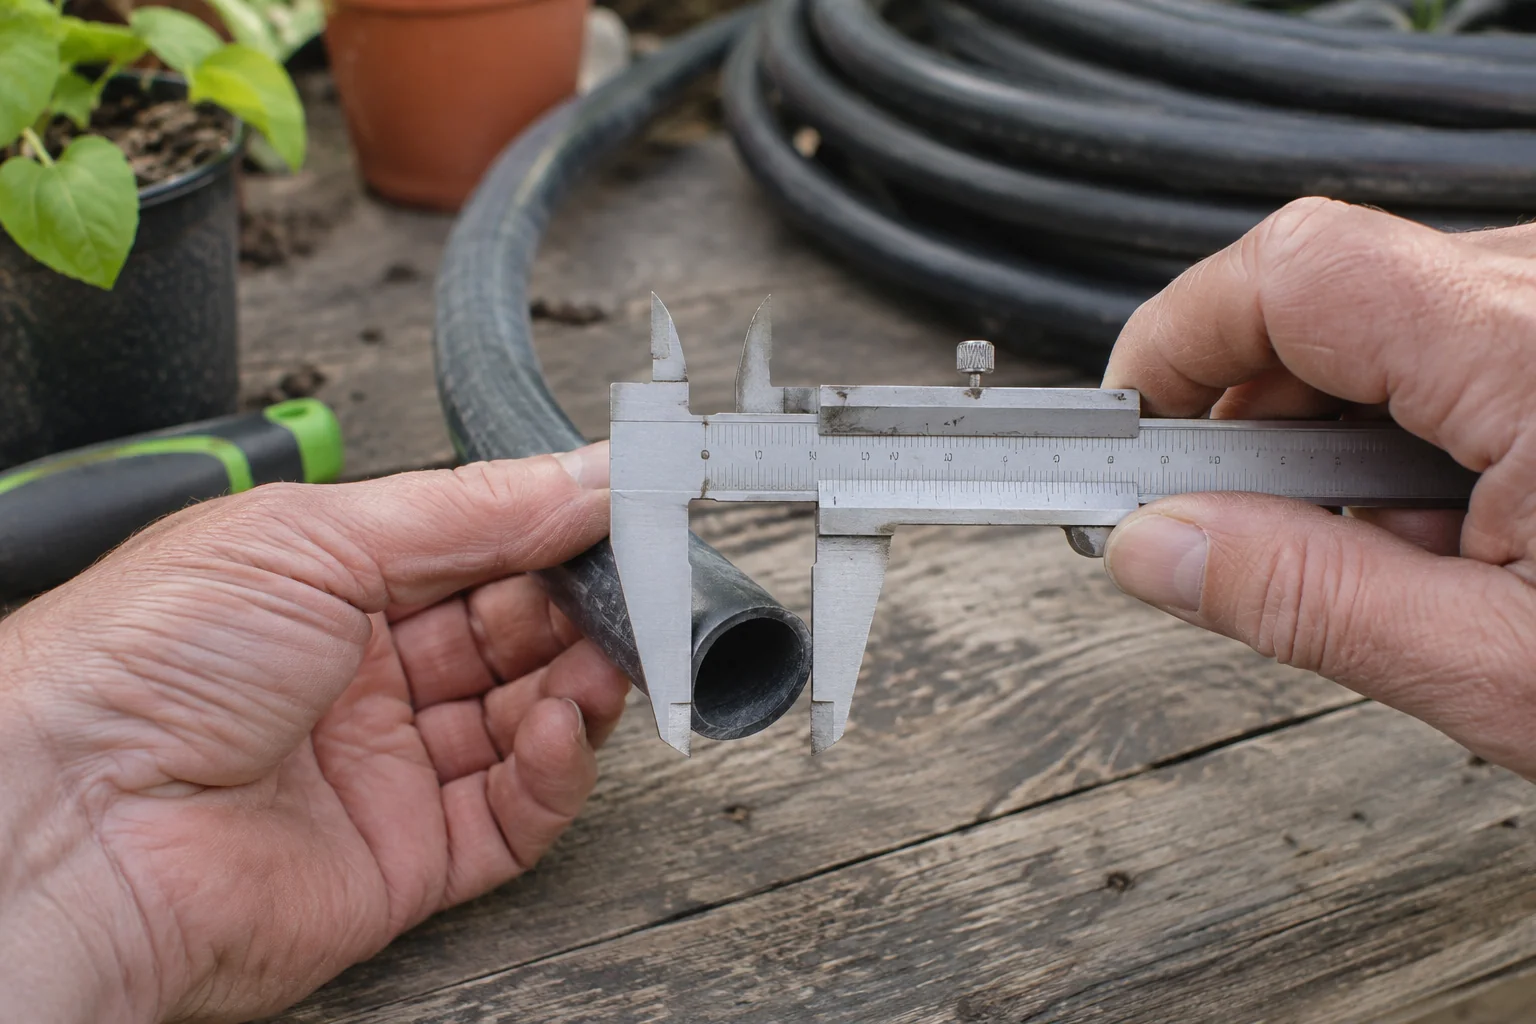
A replacement connector needs to match the tubing you actually have. Before ordering, record the inside diameter, outside diameter and connection design rather than relying on a rough measurement or the size of a garden hose nearby.
The practical answer
Record both inside and outside diameter on an undamaged, round section, then match the manufacturer’s connection design. A nominal size alone is not enough to order a leak-free replacement.
Useful product route: Hozelock 13 mm supply hose, Hozelock 4 mm T-piece connectors or Hozelock 4 mm straight connectors
Inside diameter and outside diameter
Inside diameter is the opening through which water travels. Outside diameter is the measurement across the whole tube, including both walls. Two tubes can have the same internal opening and different outside dimensions, so the numbers describe different things.
Product labels do not always explain which measurement they use. Treat a printed size as a starting point, then check the manufacturer’s specification. Our pipe sizes and fittings guide explains why a matching label alone does not prove compatibility.
One tube, two dimensions
A practical measuring method
- Turn off the supply and release pressure according to the system instructions.
- Find any brand, model or dimensions printed on the tubing. Photograph these before dismantling anything.
- Where possible, measure a spare piece or an already accessible open end. Avoid cutting a working line just to identify it.
- Measure across the outside with callipers, gently enough to avoid squeezing flexible tubing out of shape.
- Measure the inside opening at an undamaged, round end. Repeat in another direction; a flattened end can give a misleading result.
- Record both readings in millimetres and compare them with the specification for the proposed fitting.
A ruler can help distinguish substantially different tubes, but small tubing and close tolerances are easier to assess with callipers. If the pipe has become oval, measure an undamaged section and seek the manufacturer’s identification advice.
Identify how the joint works
Look at the existing connector. Is it a barb pushed into the tube, a compression fitting, a proprietary push connection or a threaded adaptor? Record the connector model as well as the measurements. For threaded connections, tube diameter does not identify the thread standard.
Hozelock describes its 4 mm micro tube as a branch from a larger supply hose to individual watering points. GARDENA’s Micro-Drip range includes 4.6 mm supply pipe. These examples illustrate why small branch tubing should be identified by its own product range.
Your replacement-parts record
- Manufacturer and tubing model.
- Inside and outside dimensions, and whether they are measured or specified.
- Connector type and model.
- Required length, number of joins and intended watering points.
Keep this record with your watering-system layout. If the measurements or range remain uncertain, confirm them with the manufacturer before purchasing.
Product examples on Amazon
Compare these examples with your chosen manufacturer’s specifications before ordering.
Hozelock 13 mm supply hose — view on Amazon
Compare the supply-pipe specification with the fittings you plan to use.Hozelock 4 mm T-piece connectors — view on Amazon
A branching-fitting example; check compatibility with your chosen micro hose.Hozelock 4 mm straight connectors — view on Amazon
A joining-fitting example for compatible micro hose.
Explore all irrigation guides →