
Irrigation / Project planning
How to plan greenhouse drip irrigation.
By James Thompson · Researched planning guide
Some links in my articles are affiliate links. I may earn a commission when you buy through them.
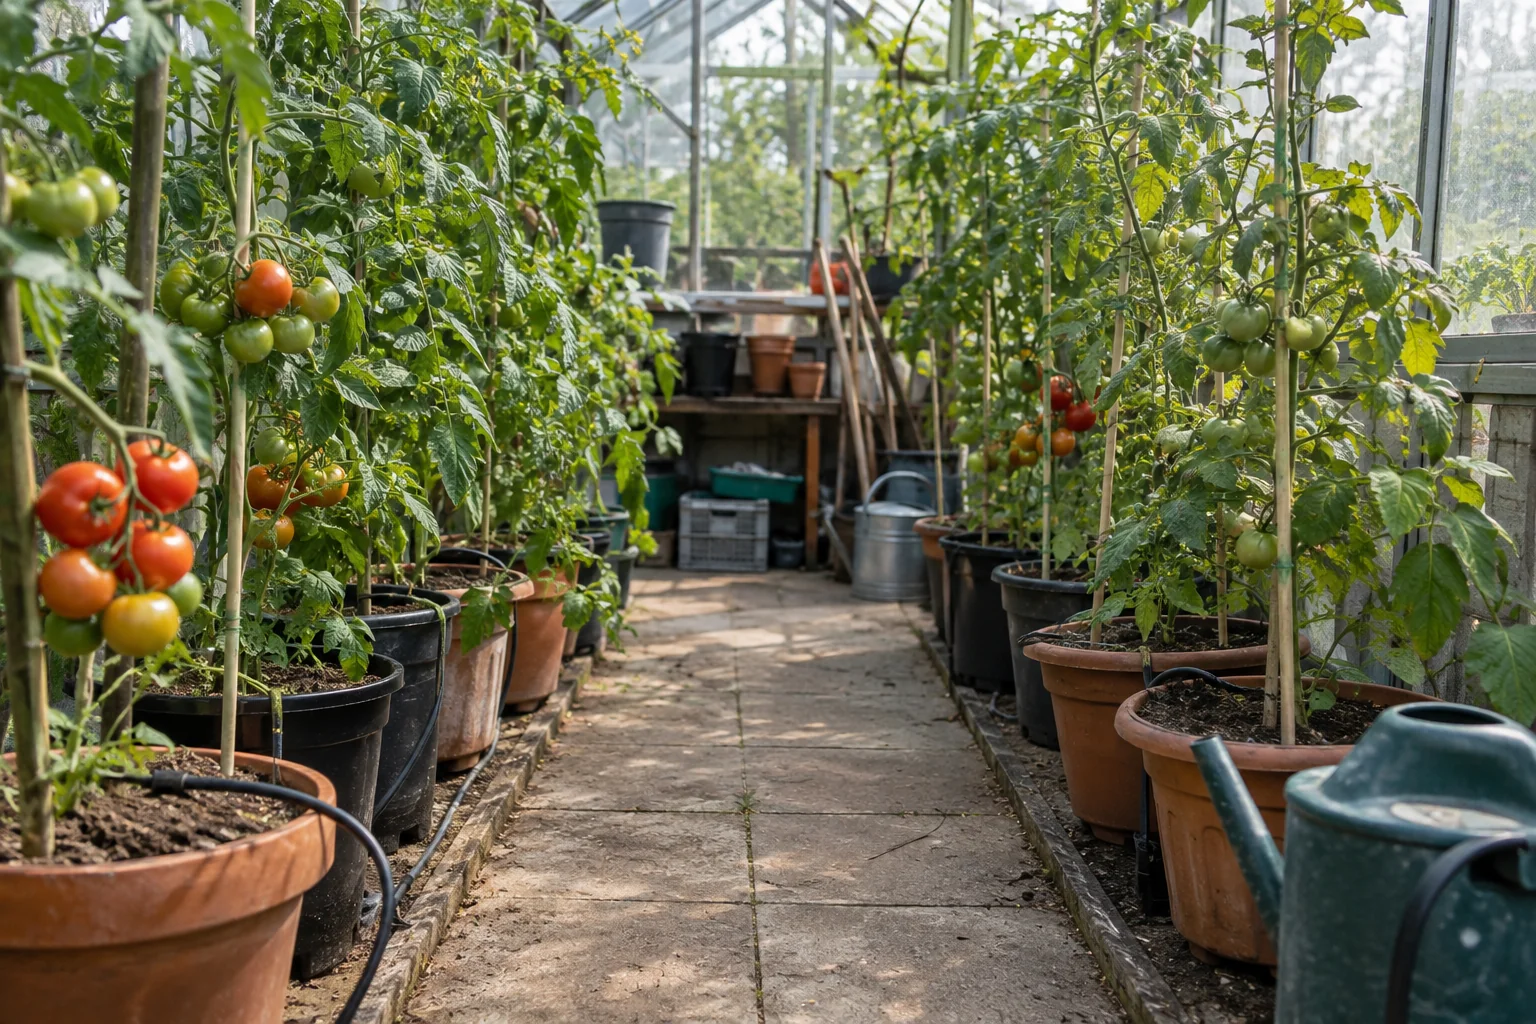
Start with the growing space and water source. A useful layout and a few specification checks make it easier to choose components without buying a kit simply because it has enough drippers.
The practical answer
Sketch the greenhouse, water source, beds, pots and paths before choosing a kit. Then check that the included pipe length, outlet type, controller and pressure requirements suit that drawing.
Useful product route: Hozelock 20-pot drip-watering kit or Hozelock Sensor Controller Plus
1. Map the growing area
Sketch the greenhouse, water-source location, paths and planting areas. Distinguish pots, grow bags and beds. Mark where containers may move during the season so the pipework does not block access.
Group plants with similar watering needs when practical. A shared timer schedule does not automatically suit every plant or container.
2. Establish the water source
Record whether the supply comes from a tap, storage tank or pump. Check the chosen system’s pressure and flow requirements. A kit intended for a pressurised tap should not be assumed to work from a gravity-fed water butt.
Confirm that any controller works with the supply arrangement. Water-source protection, required fittings and installation rules should be checked for the actual site before connecting equipment.
3. Choose the watering-point layout
Individual drippers can provide points for separated containers. Integrated dripline may suit a regular planted run. The right choice depends on the layout and the product’s intended application.
Mark the proposed supply route, branches and watering points. Keep valves, filter cleaning points and connections accessible for inspection.
4. Check the system limits
Use the selected manufacturer’s guidance for maximum lengths, emitter quantities, pressure and permitted height differences. Do not treat a kit’s advertised container count as a guarantee for every layout.
Measure the route on the sketch, including turns and branches. If the proposed arrangement exceeds the system limits, revise it before ordering.
A worked planning example
Imagine a greenhouse with two groups of six pots. This is a layout exercise, not a specification for a finished system.
- Draw the main supply route along an accessible edge.
- Mark twelve proposed watering positions.
- Measure the main route and each required branch.
- Choose a compatible emitter and pipe family.
- Confirm that twelve positions and the measured lengths fall within that system’s limits.
- List the appropriate inlet, control, filter and pressure-management parts.
- Add supported branch connectors, closures and securing parts.
Group A · 6 pots
Group B · 6 pots
5. Test and adjust before relying on a timer
Inspect every connection for leaks and verify that each watering point delivers water. Compare the wetting pattern with the position of the roots and check the compost or soil after watering.
Set an initial schedule using the plants’ needs and the emitter specifications, then observe and adjust. Greenhouse conditions, plant growth and container size change water demand; there is no single runtime that suits every greenhouse.
The RHS explains that drip and soaker systems can be automated. Automation is useful, but it still requires attention to plant needs and system performance.
Your component checklist
Record the water-source connection, required system inlet parts, controller, main pipe length, branch lengths, emitter references, connectors and end fittings. Keep the product specifications with the plan.
Use the component guide to check the list, then verify pipe and fitting compatibility.
Products to compare for your greenhouse plan
These Amazon UK product examples help you compare a kit with separate components. They are not a confirmed compatible bundle.
Hozelock 20-pot drip watering kit — view on Amazon
Compare the kit contents and controller with your layout before adding separate parts.Hozelock Sensor Controller Plus — view on Amazon
Check the tap connection, pressure requirements and whether light-based watering suits your location.Hozelock in-line pressure-compensating drippers — view on Amazon
Check the connection size, rated flow and permitted pressure for your system.Hozelock 13 mm supply hose — view on Amazon
Compare the supply-pipe specification with the fittings you plan to use.
Start with your measured layout and watering-point count. Compare them with the manufacturer’s limits and kit contents. The linked 20-pot kit includes a controller, so a separate timer is an alternative to assess, not an automatic extra purchase. Check the selected model, seller and current specifications before ordering.
Sources
Turn your plan into a shopping list
Compare greenhouse irrigation kits and check what each includes →