
Irrigation / Testing and maintenance
How to test dripper output.
By James Thompson · Researched guide
Some links in my articles are affiliate links. I may earn a commission when you buy through them.
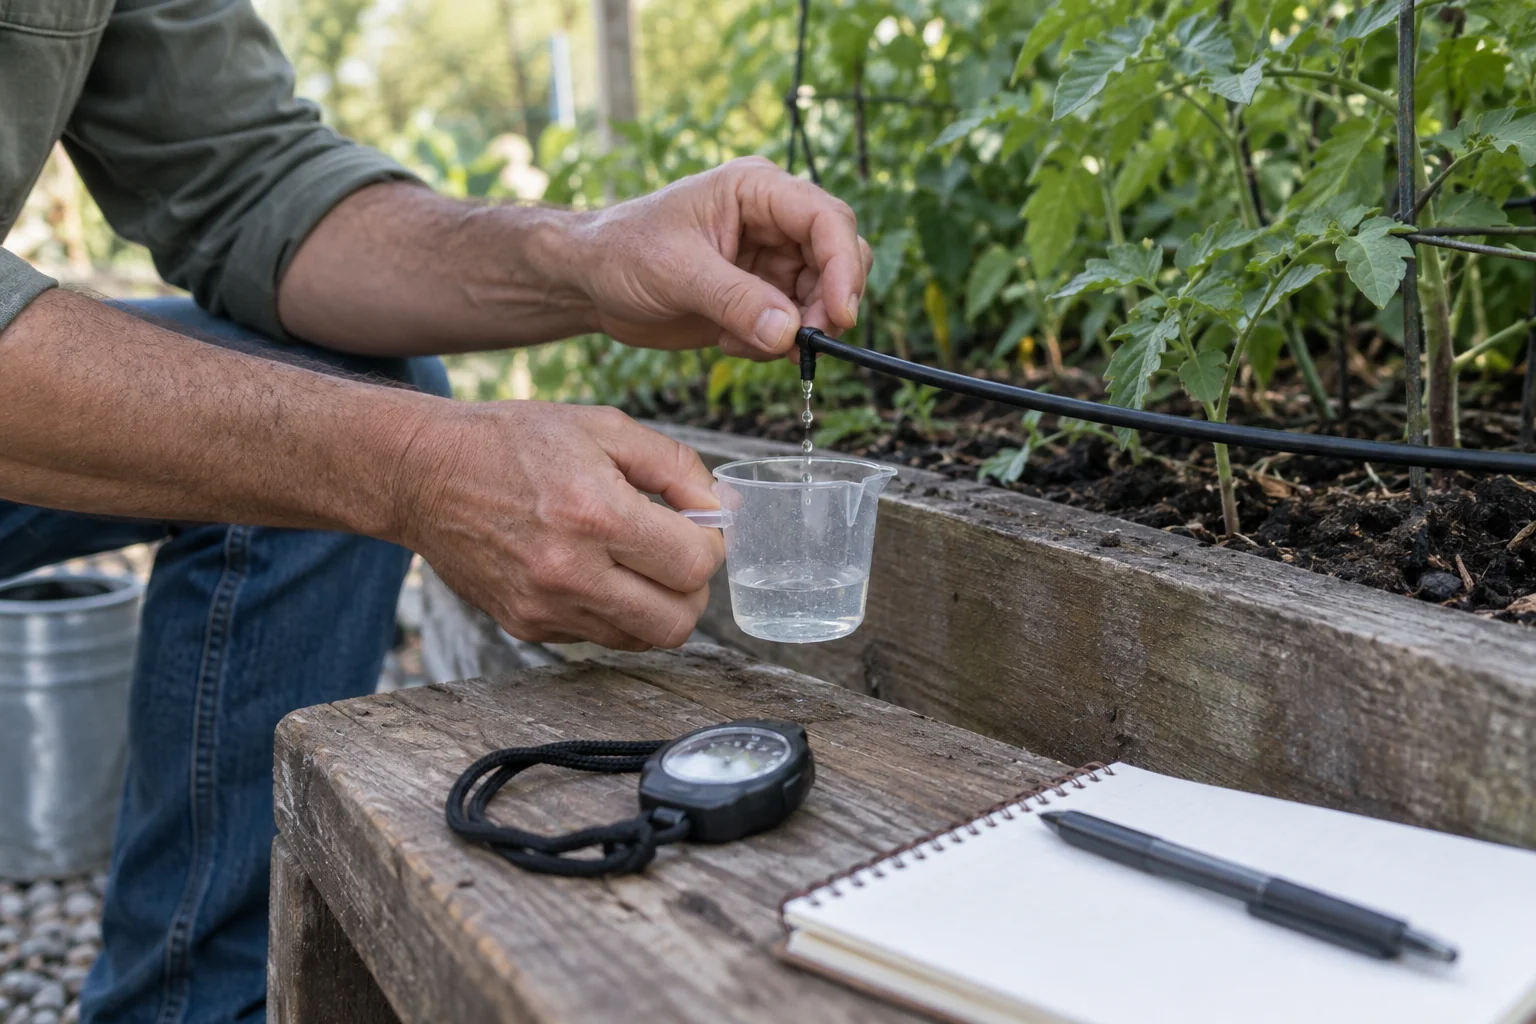
A dripper can look as though it is working while delivering a different amount of water from the next one. A timed catch test gives you a measured output to compare with the emitter specification and your previous readings.
The practical answer
Collect each outlet for the same measured time, convert the volume to litres per hour and compare like positions. Replace a dripper only after the test isolates the emitter rather than an upstream pressure, filter or pipe problem.
Useful product route: Hozelock pressure-compensating drippers
Collect water for a known time. Convert the volume to litres per hour. Compare equivalent outlets in the same operating conditions.
What a catch test tells you
The test measures water leaving an accessible emitter. It does not measure soil moisture or prove that a plant receives enough water. Use it to investigate an uneven system, check a new layout, or build a baseline for future maintenance.
University of California guidance describes timed collection and representative sampling across a drip system. Our garden-scale method below adapts that measurement principle; it is not a formal agricultural uniformity assessment. See its emitter evaluation guidance.
Gather a few simple tools
- Small clean containers that fit beneath accessible outlets.
- A graduated cylinder or measuring vessel with readable millilitre markings.
- A stopwatch or phone timer.
- Labels and a notebook for positions, volumes and test duration.
- The specification for your exact emitter model.
Use a container large enough for the expected volume. Keep the outlet clear of the collected water. Do not dismantle a pressurised connection or cut dripline simply to make an outlet easier to reach.
Choose watering points you can compare
Label accessible outlets near the start, middle and end of the route, including a branch where watering looks weaker. Compare the same emitter type and flow setting. Different rated outputs or adjustable settings can legitimately produce different volumes.
Record which zone is running and whether the supply comes from a tap, pump or reservoir. If those conditions change between tests, your comparison becomes less useful. Read pressure-compensating versus adjustable drippers before treating every difference as a fault.
Run the timed collection
- Inspect the operating system for obvious leaks, pinched tubing or a closed supply. Address faults according to the manufacturer’s instructions.
- Run the intended watering zone and allow delivery to settle before collecting.
- Place labelled containers beneath the chosen outlets. Start collection and timing together.
- Collect for a recorded period, such as one minute. Use a longer measured interval if the volume is too small to read reliably, with a suitably sized container.
- Measure each volume, record it, and repeat any result affected by spills or missed drops.
- Return every outlet to its intended watering position and check the system afterwards.
Several containers let you compare outlets simultaneously. If you collect one at a time, keep supply conditions and zone operation consistent. Leave the other emitters operating as usual.
Convert millilitres to litres per hour
÷ (minutes × 1,000)
Example: 40 mL in 1 minute
40 × 60 ÷ 1,000 = 2.4 L/h
Extension guidance also explains timed volume-to-flow conversion. This is a unit conversion, not a suggested watering target. For a 30-second collection, enter 0.5 minutes. For a two-minute collection, enter 2 minutes. Keep millilitres and litres separate in your notes.
A worked comparison
| Position | Volume in 1 minute | Calculated flow |
|---|---|---|
| Start | 40 mL | 2.4 L/h |
| Middle | 39 mL | 2.34 L/h |
| End | 25 mL | 1.5 L/h |
These invented figures illustrate the calculation. The end outlet deserves another check, but the table alone cannot tell you why it is lower. Confirm that the outlets are equivalent, repeat the measurement, and check their operating requirements.
What to check when output differs
University of Florida guidance distinguishes pressure variation from emitter performance variation. A low volume can therefore have more than one cause; changing the timer duration does not identify the fault. See its microirrigation evaluation publication.
- One unusual outlet: check its setting, connection and condition. Follow the maker’s cleaning or replacement instructions.
- A weaker branch or line end: inspect the route and compare it with the permitted pipe lengths, emitter count and operating pressure.
- A change across the whole zone: check the water source and inlet equipment, including the specified filter and regulator.
For a practical fault-finding sequence, read why drip irrigation is not working. For maintenance, see how to flush a drip system. Do not force a blocked emitter open with improvised chemicals or tools unless its manufacturer specifies that method.
Use the result to review watering time
A measured output helps estimate the volume delivered during a watering period. An outlet delivering 2.4 L/h would deliver 0.6 litres over 15 minutes if its flow remained constant. Whether that suits the plant depends on conditions such as the growing medium, weather and drainage.
Use our water-use calculation guide for the next step. Keep your test notes so later measurements can be compared with the same outlets under similar conditions.
Comparing replacement drippers
If a replacement is needed, match the connection, rated flow and operating range to the existing system. View the Hozelock in-line pressure-compensating dripper example on Amazon UK to compare an emitter option. Confirm the exact model and manufacturer’s specification before buying; it is not a universal replacement.
Explore all irrigation guides →