
IRRIGATION / PRACTICAL GUIDES
How to Flush a Drip Irrigation System
By James Thompson
Some links in my articles are affiliate links. I may earn a commission when you buy through them.
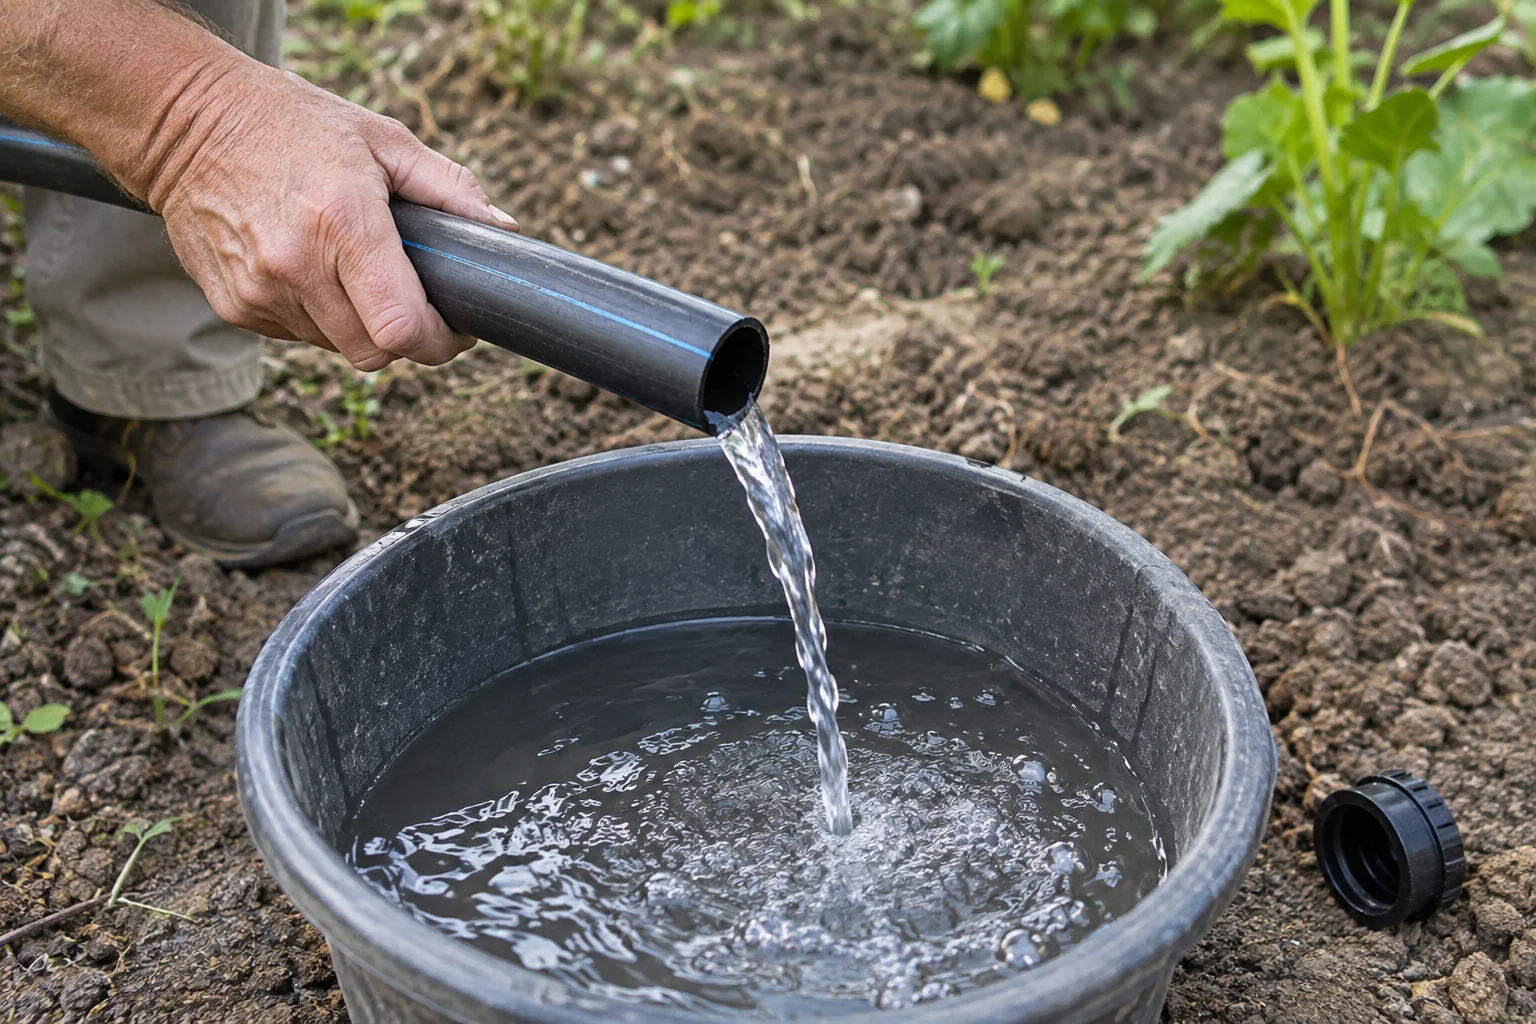
Flushing moves water through an open line end so loose debris can leave the pipework. It is different from watering through the emitters, and it will not necessarily clear a blocked emitter’s internal passage. Use the flushing method specified for your irrigation range.
The practical answer
Open the intended line end and flush until discharged water is clear, following the system instructions. End plugs and straight connectors are useful spares only when they match the existing 13 mm or 4 mm Hozelock pipework.
Useful product route: Hozelock 13 mm end plugs or Hozelock 4 mm straight connectors
When should you consider flushing?
Check the instructions at initial installation, after repairs or extensions and when restarting a stored system. Open tube can collect dirt during work, so keep unused ends protected until assembly is complete.
Rain Bird’s low-volume maintenance manual recommends flushing before operation and inspecting the discharged water for debris. The appropriate ongoing schedule depends on the system and water quality; a fixed interval copied from another installation may be unsuitable.
Find the correct access points
Identify the end plug, removable end fitting or purpose-made flushing point. Take a photograph before opening it so you can restore the arrangement correctly. If the line end is inaccessible under dense planting, consider improving access during the next layout change.
Do not assume every fitting is reusable or removable in the same way. Our pipe and fitting guide explains why identifying the component range matters.
A practical sequence for an accessible garden line
- Turn the supply off. Stop scheduled operation and release pressure as instructed.
- Prepare the discharge area. Direct water somewhere suitable, away from electrics, walkways and vulnerable planting.
- Open the instructed flushing point. Retain its parts and seals together.
- Run the prescribed flush. Observe the water and follow any product-specific pressure or sequence requirements.
- Turn the water off again. Refit the closure correctly before normal operation.
- Test the complete line. Check for leaks and inspect representative outlets.
For a branched layout, follow the manufacturer’s sequence for individual sections. Opening several ends at once changes the flow conditions and may not provide a useful flush.
The sequence at a glance
Check the filter as a separate task
Inspect and clean inlet filtration according to its instructions. Flushing pipework while leaving a dirty or damaged filter unresolved can allow the same problem to return. See how to choose and maintain suitable filtration.
What if an emitter still does not water?
Check its immediate connection, adjustment and permitted servicing procedure. Clearing loose material from the main pipe does not guarantee that an emitter’s small passage is clear. Replace a damaged or unserviceable unit with a compatible model rather than drilling or enlarging its outlet.
Work through our drip irrigation fault checks if several outlets remain weak. A pressure or layout problem can resemble blockage.
Keep a short maintenance record
Note the date, which sections were flushed and whether debris appeared. Recurring contamination is a reason to inspect the source, filter and exposed line ends, rather than simply flushing more often without finding the cause.
Product examples on Amazon
Compare these examples with your chosen manufacturer’s specifications before ordering. These are individual product examples, not a confirmed compatible bundle.
Hozelock 13 mm end plugs — view on Amazon
Select the closure for the exact supply pipe.Hozelock 13 mm supply hose — view on Amazon
Check the pipe specification against your chosen fittings.Hozelock 4 mm straight connectors — view on Amazon
Check compatibility with your micro hose.
Explore all irrigation guides →