
IRRIGATION / PRACTICAL GUIDES
How to Prepare Drip Irrigation for Winter
By James Thompson
Some links in my articles are affiliate links. I may earn a commission when you buy through them.
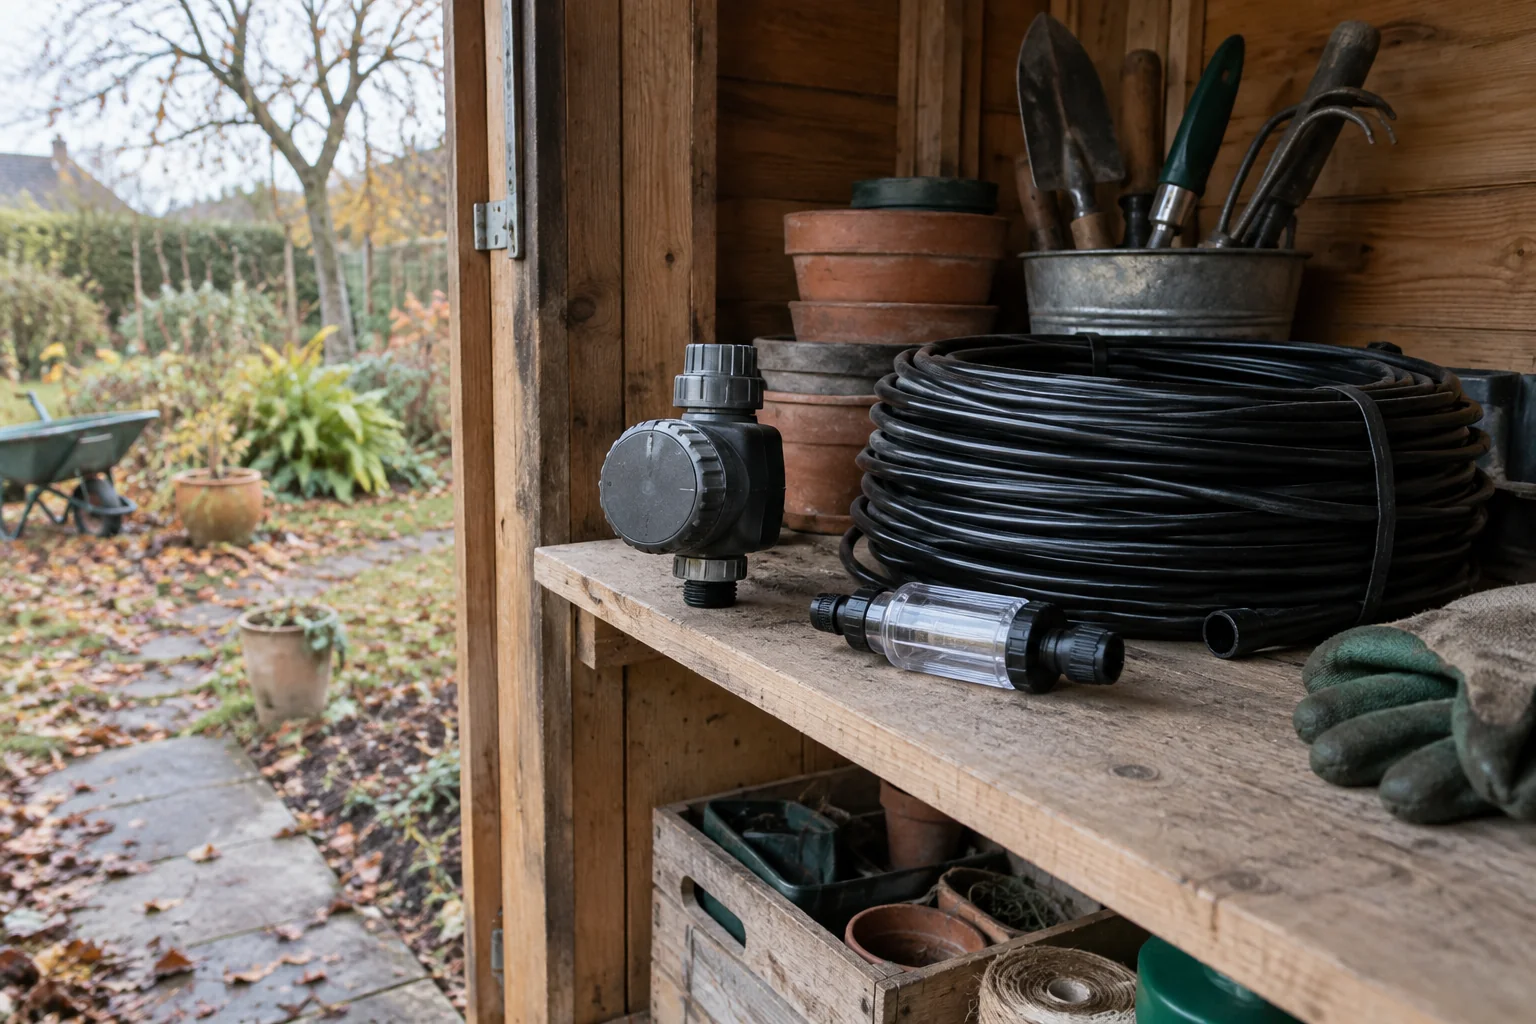
Prepare drip irrigation for winter before freezing weather arrives. Stop automatic operation, identify the parts that need frost-free storage and drain the system using the method specified for its components. Tubing described as suitable for outdoor use does not prove that a connected timer or regulator can stay outside with water trapped inside.
The practical answer
Disable automatic watering, drain the system by the manufacturer’s method and store frost-sensitive control and inlet parts indoors. Replace missing end closures or damaged joining pieces before spring reassembly.
Useful product route: Hozelock 13 mm end plugs or Hozelock 4 mm straight connectors
Make an inventory of the installed parts
List the controller, inlet unit, filter, valves, sensors and any pump. Read their individual storage instructions. Keep product references with a photograph of the assembled inlet so you can reconnect it correctly in spring.
GARDENA’s guidance distinguishes Micro-Drip components from underground pipeline and sprinkler systems. It calls for frost-free storage of sensitive control and starter equipment. Follow the instructions for your own models rather than applying another system’s drainage procedure.
Stop watering and isolate the supply
Disable the schedule and shut off the water source as instructed. Release pressure before disconnecting parts. For a reservoir system, also follow the pump’s shutdown and storage instructions.
Do not leave a live tap connected to an arrangement you have partly dismantled. Label removed equipment so another person does not restart it without seeing that the line is disconnected.
Drain where the system allows
Open the specified drainage points and let accessible pipework empty. Check low spots where water can collect. A loop over a bed edge or a sag behind a pot can retain water even when the visible end looks dry.
Some installed underground arrangements require a particular professional winterisation procedure. Do not improvise a compressed-air blowout for a small garden kit. Pressure limits and suitable access points differ between products.
Store sensitive components together
- Clean equipment as instructed before putting it away.
- Drain removable housings and adapters where required.
- Remove batteries if the controller instructions call for it.
- Store components in a dry, frost-free place.
- Keep seals, adapters and product manuals with the matching unit.
After drainage, protect exposed openings against dirt and insects using suitable closures. Do not seal a section full of water and assume it is winter-ready. GARDENA’s Micro-Drip advice includes closing the pipe start after draining.
Shutdown now, recommission in spring
Use the shutdown to improve the layout
Note damaged tube, inaccessible ends and awkward crossings while the system is visible. Make a parts list for spring instead of buying fittings from memory. Our tube measurement guide can help identify replacements.
Restart with a complete check
Inspect stored parts, reconnect the inlet in its specified order and check the controller settings. Flush where instructed, then run the system and inspect the joints and emitters.
Use our flushing guide and fault-check sequence if output is uneven. A successful cycle before storage does not prove that every outlet will perform correctly months later.
Product examples on Amazon
Compare these examples with your chosen manufacturer’s specifications before ordering. These are individual product examples, not a confirmed compatible bundle.
Hozelock 13 mm end plugs — view on Amazon
Select the closure for the exact supply pipe.Hozelock 4 mm straight connectors — view on Amazon
Check compatibility with your micro hose.
Explore all irrigation guides →