
IRRIGATION / PRACTICAL GUIDES
Watering Timer Compatibility and First-Run Checks
By James Thompson
Some links in my articles are affiliate links. I may earn a commission when you buy through them.
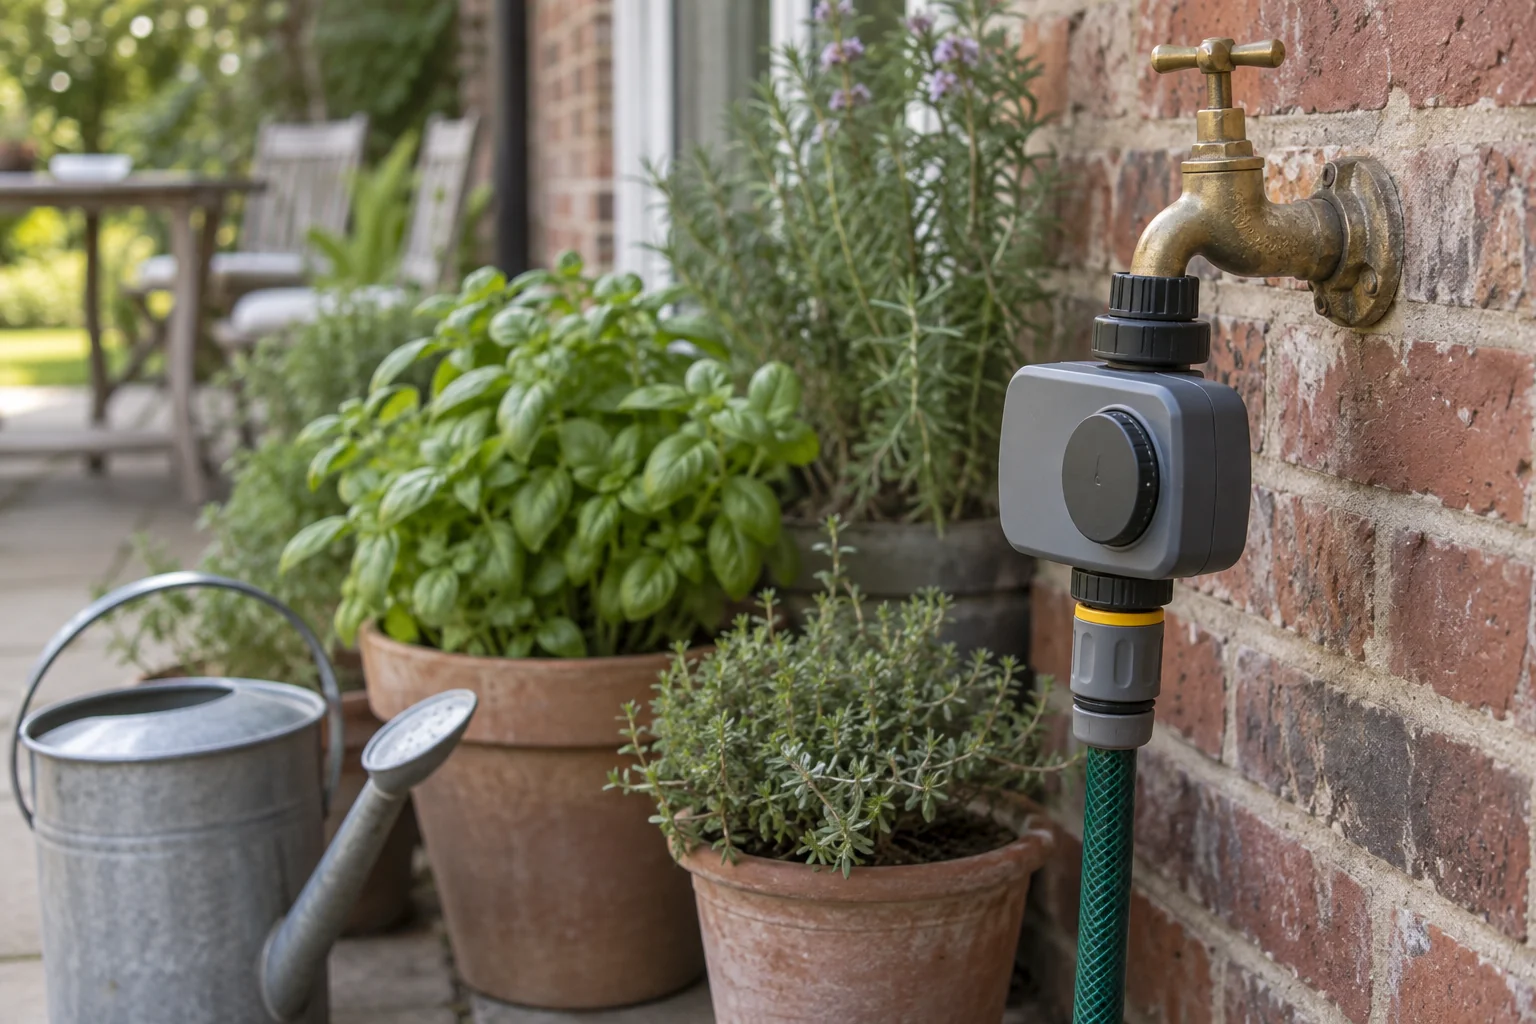
Choose a watering timer by checking its compatibility with your supply and how you want watering to run. A convenient control panel is useful only if the controller fits the tap, works at the available pressure and offers the scheduling behaviour you need.
The practical answer
Choose the timer only after checking the tap connection, operating pressure, scheduling behaviour and manual override. A battery timer is not automatically suitable for a gravity-fed water butt or a drip system that also needs regulation.
Useful product route: Hozelock Sensor Controller Plus
For model selection, use our watering timer comparison. This guide covers the installation and observed checks needed before relying on your chosen timer.
Check your source before the schedule
- Confirm the permitted inlet pressure and any minimum pressure.
- Check whether the controller is specified for your tap, tank or pumped source.
- Identify the inlet thread and outlet connection, including any supplied adaptors.
- Check permitted installation orientation and access for controls and batteries.
- Confirm how the controller integrates with the regulator and filtration required by your irrigation system.
A battery-powered timer is not necessarily suitable for a gravity-fed water butt. Likewise, a timer does not automatically reduce pressure for a drip system. Consult the exact model’s manual, then use our filtration guide and component overview to check the complete inlet arrangement.
Choose controls you can manage
Compare the available start times, durations and watering-day options with your intended routine. Check for manual watering, how to stop a running cycle, and what happens when batteries need replacing. For connected models, consider whether you can still operate the device when a phone or network is unavailable.
For a light-sensing controller, follow the placement guidance so the sensor receives the conditions it needs. A shaded or enclosed location should be assessed against the manual, rather than assuming dawn and dusk will be detected correctly.
Test before leaving it unattended
Fit the controller and required inlet equipment according to the exact manual. Keep a record of the following checks; a successful manual run does not prove the programmed routine works.
| Check | Record | If it fails |
|---|---|---|
| Manual start and stop | Water reaches the intended outlets and stops when commanded; no leaking joints. | Isolate the supply and resolve installation or valve faults before unattended use. |
| Scheduled cycle | Expected and observed start time, end time and selected watering days. | Check clock, programme, duration and any sensor override against the manual. |
| Pause and resume | How to suspend watering and the next scheduled start after resuming. | Do not assume a rain delay or manual override behaves like a permanent off setting. |
| Power and access | Battery type, replacement procedure and what the manual says happens to saved settings. | Resolve uncertainty before leaving; do not test by disconnecting power mid-cycle unless instructed. |
| Plant response | Compost or soil condition after the cycle and before the next one. | Adjust to the plants; correct timing alone does not establish the right water quantity. |
Automation does not remove the need to inspect plants, batteries and leaks. Keep the instructions and settings with your system plan. If buying a kit, check whether a controller is included before ordering a separate one.
Sources
Compare controller options.
Compare mechanical, preset and programmable watering timers →