
Garden watering · Practical guide
Drip Irrigation Under Mulch: Placement, Access and Watering Checks
Some links in my articles are affiliate links. I may earn a commission when you buy through them.
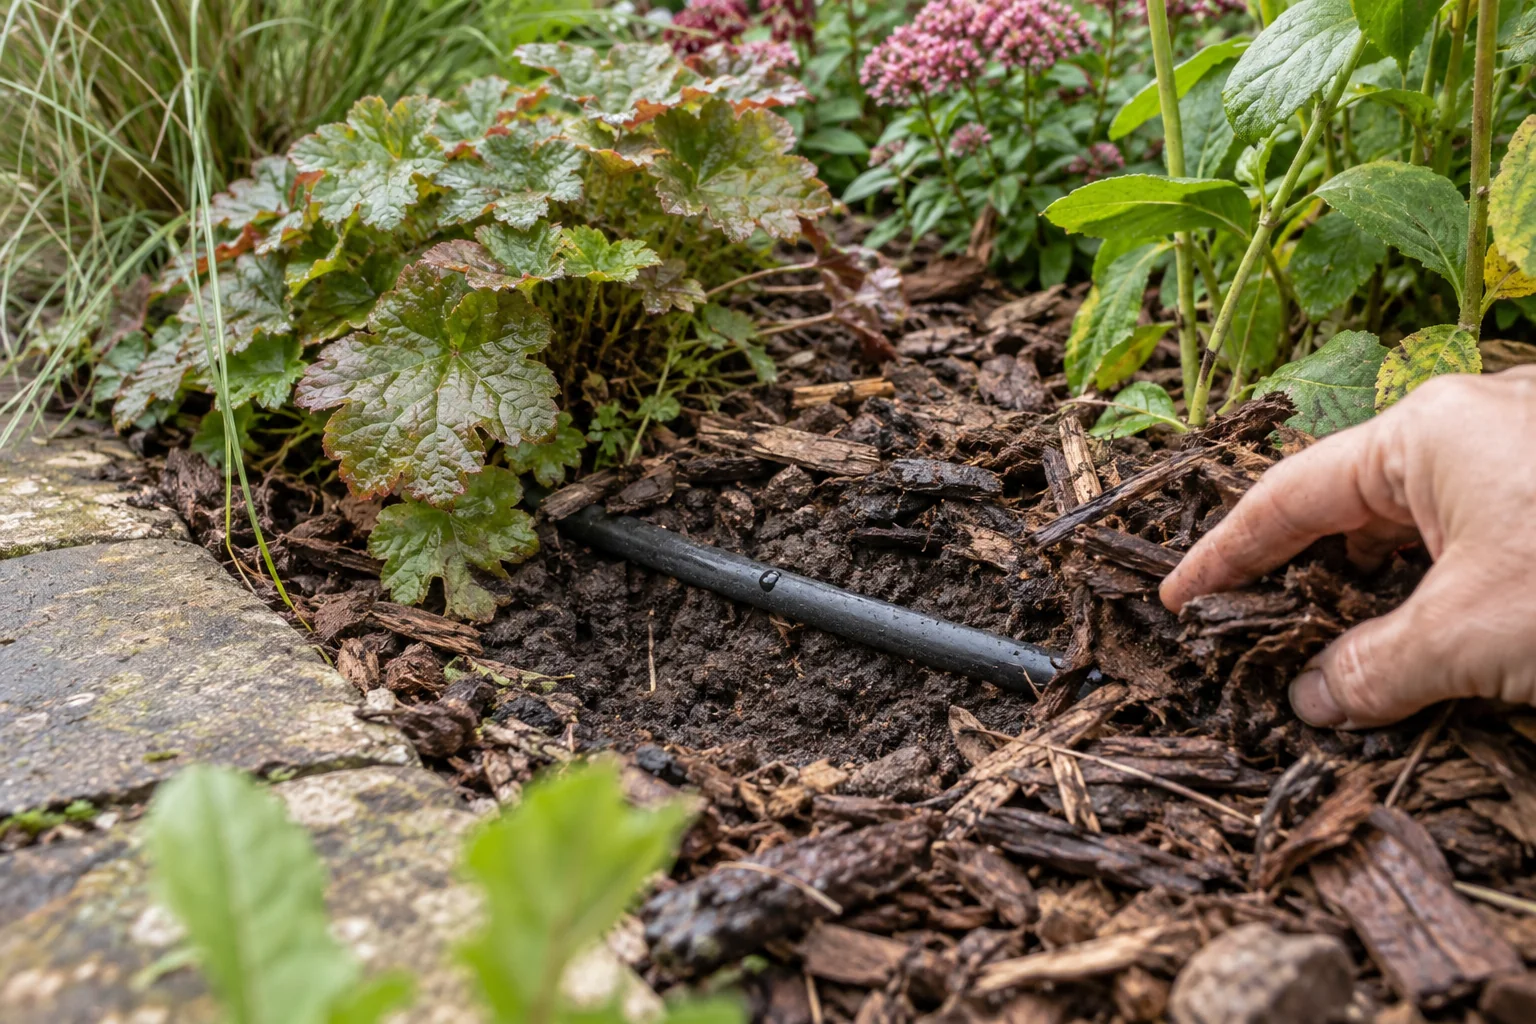
Loose organic mulch can work well with surface drip irrigation, provided water reaches the soil and you can still inspect the system. The important decision is where the outlets sit, rather than simply how neatly the tubing disappears.
The practical answer
Keep surface-rated tubing on the soil beneath loose mulch, with outlets visible enough to inspect. Confirm the chosen pipe and drippers are intended for the installation; do not bury a surface system simply to hide it.
Useful product route: Hozelock 13 mm supply hose or Hozelock pressure-compensating drippers
Start with the type of mulch
The RHS mulching guide recommends applying biodegradable mulch over moist, weed-free, unfrozen soil, generally at least 5 cm and ideally 7.5 cm deep. Keep it away from woody stems and avoid smothering low-growing plants. Permeable sheet mulch and loose bark are different installation situations: check the irrigation manufacturer’s instructions before covering equipment.
For a surface-rated dripline beneath loose mulch, a practical starting layout is tubing on the soil surface with the mulch above it. Do not treat that as permission to bury any tube or emitter underground. Some systems are designed for subsurface use; others are not. Micro-sprays also need room for their intended spray pattern and should not be hidden like drip outlets.
Lay out the system before covering it
- Remove weeds and identify the plants that actually need irrigation.
- Position the water outlets near the intended root areas, following the selected system’s spacing rules.
- Secure tubing without crushing it and leave room to reach connectors and line ends.
- Run a supervised test with the tubing still visible. Look for leaks, blocked outlets and water travelling away from the target area.
- Photograph or sketch the route, then apply the loose mulch without moving the tubing.
A route record is especially useful before planting bulbs, digging out weeds or adding new plants. Mark access points on the sketch so maintenance does not become a search through the whole border. Use our pipe and fitting guide when planning connections.
For new planting, plan around the job as well as the pipe route: see watering a newly planted tree or watering a newly planted hedge for the checks that guide establishment watering.
Check the soil, not the colour of the bark
Dry-looking mulch does not establish that the roots are dry. Move a small patch aside near a representative outlet, check the soil gently without damaging roots, and replace the cover afterwards. Compare a spot near the outlet with one between outlets. A wet patch immediately below a dripper can coexist with dry soil elsewhere.
If water collects in a hollow or runs across the surface, pause and investigate the outlet position and soil condition. Extending the run time without checking the destination of the water can make the wrong area wetter. Our dripper catch test checks delivery; soil inspection checks what happens after delivery. Both matter.
Wilting is not enough to diagnose a water shortage. If the ground is already wet, work through the waterlogging checks for plants wilting after rain before increasing irrigation.
Recheck after changing the mulch
Hozelock’s border-watering advice describes organic mulch as a way to reduce surface evaporation. That does not provide a universal percentage by which to shorten your timer. Keep a note of the old setting, change one setting at a time, and compare soil moisture before the next planned watering.
Inspect after topping up mulch, moving plants or doing other work in the bed. Keep filters, adjustment points and the flushing end accessible. Follow our flushing guide when maintaining the line. If the manufacturer’s instructions conflict with this general planning sequence, follow the product instructions.
Sources checked 18 September 2026. Planning and inspection sequences are Mersey Direct editorial guidance, not claims of physical product testing.