
Irrigation / Sizes & compatibility
Irrigation pipe sizes and fittings: what to check.
By James Thompson · Researched guide
Some links in my articles are affiliate links. I may earn a commission when you buy through them.
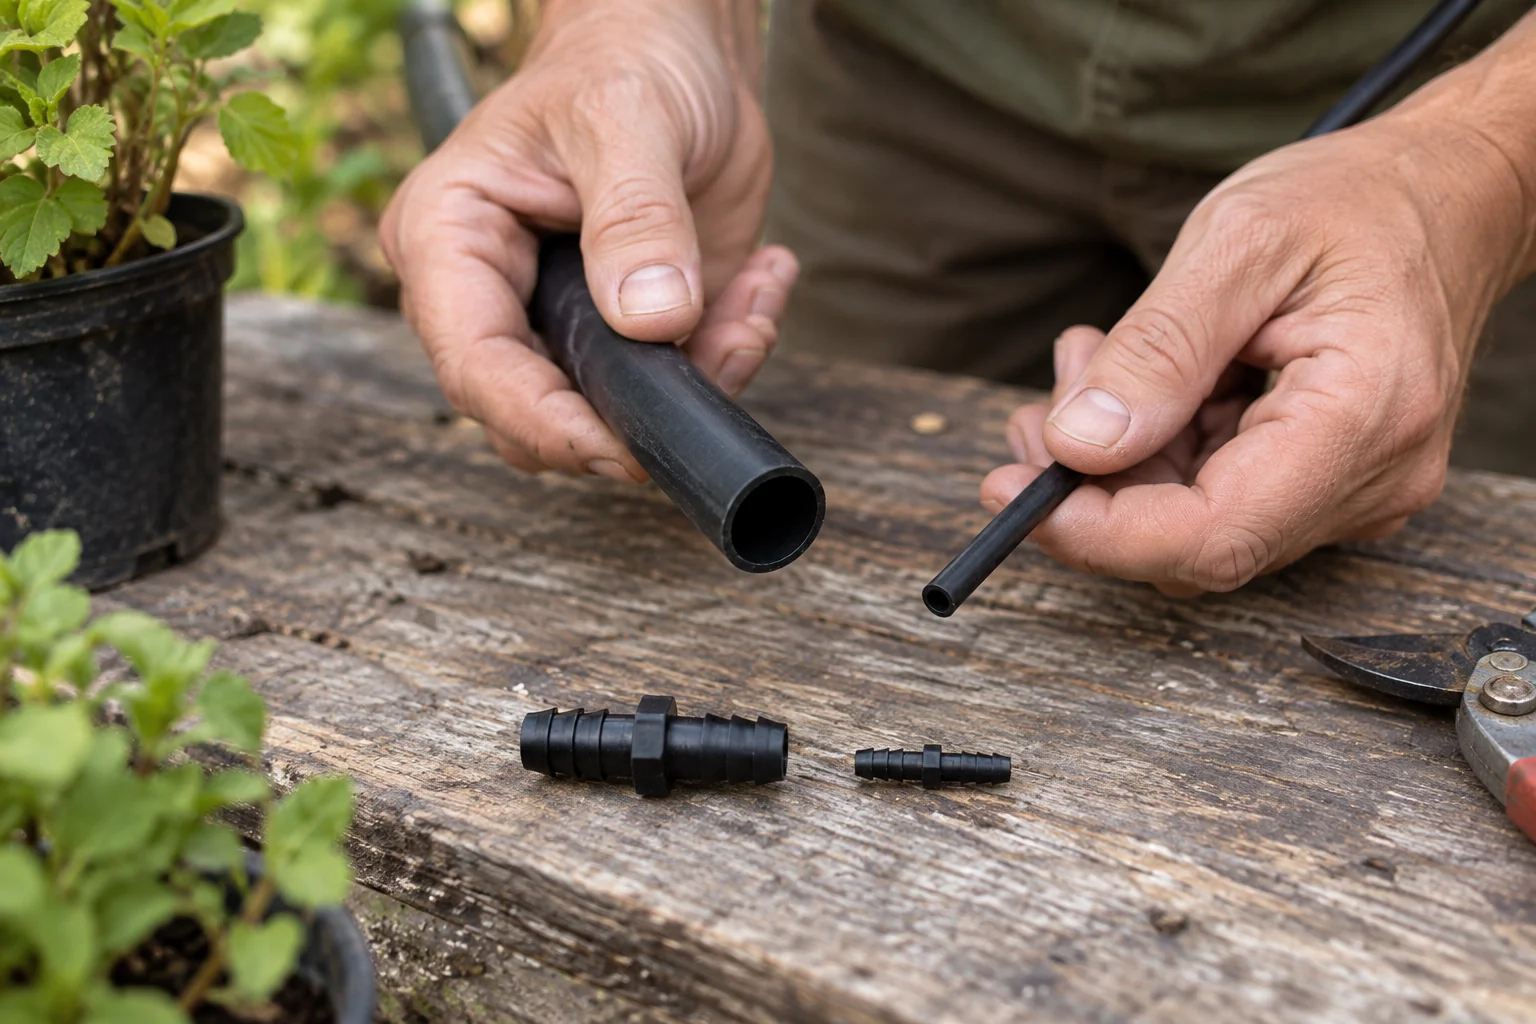
The number on a pipe label is only the start of a compatibility check. Dimensions, connection design and the manufacturer’s stated fit all matter.
The practical answer
Treat a printed pipe size as the start of the check. Confirm whether it is inside, outside or nominal diameter and match the fitting range and connection design from the same manufacturer.
Useful product route: Hozelock 13 mm supply hose, Hozelock 4 mm T-piece connectors or Hozelock 4 mm straight connectors
Why size labels can mislead
A size may describe a nominal product family, an internal diameter or an external diameter. Threaded fittings use their own size conventions. Without knowing which convention is being used, two similar labels cannot confirm that parts will connect.
Keep the manufacturer’s system name and exact product reference alongside the stated size. That makes the check repeatable when you compare a replacement fitting.
Inside diameter (ID)
The width of the opening inside the tube, measured across its centre.
Outside diameter (OD)
The full width across the tube, including both walls.
Conceptual cross-sections, not to scale. Confirm which dimension the product specification uses.
Small tubing is not all the same
GARDENA’s Micro-Drip range includes 13 mm connecting pipe and 4.6 mm supply pipe. Hozelock specifies 4 mm micro tubes and 13 mm supply tubes for its Pinch Drip emitter. These are examples from two product families, not evidence that their small tubing or fittings are interchangeable.
Match the connection method
| Connection | What to verify |
|---|---|
| Barbed fitting | Manufacturer-approved tubing and its internal dimensions; any retaining parts required. |
| Compression fitting | Approved pipe type and outside diameter; insertion and tightening instructions. |
| Push-fit or proprietary coupling | Compatible product family and any release or locking mechanism. |
| Threaded adaptor | Thread standard, nominal size, male/female ends and specified sealing method. |
| Hole-mounted component | Compatible main pipe and the correct punch or installation tool. |
A useful compatibility checklist
- Find the pipe’s manufacturer and exact reference.
- Record both the labelled size and the stated internal/external dimensions where available.
- Check the fitting’s list of supported pipes or systems.
- For threads, check the standard and both mating ends.
- Confirm pressure ratings and intended application.
- Follow the manufacturer’s installation instructions rather than forcing a connection.
Planning a mixed-brand system
Mixing components should be a deliberate decision backed by specifications. Where an adaptor is required, verify both sides independently. If the dimensional information is missing, ask the supplier before ordering a large quantity.
Keeping one compatible component family for the small tubing and watering points can simplify replacement and maintenance. It does not remove the need to check the inlet connection and operating requirements.
Once you have identified the pipe
Record the manufacturer, range, exact reference, dimensions and connection method. For an unidentified sample, use our tube-measurement guide. Then use the tubing and fittings buying guide to count components, compare pack quantities and build the purchase list.
The component guide explains where filtration, pressure management and end fittings belong in the system.
Sources
- GARDENA: Micro-Drip product range
- Hozelock: Pinch Drip connection sizes
- Hozelock: Key Punch 13 mm installation tool
Build a compatible parts list
Compare tubing and fittings by product family and measurements →