
Search
Indoor watering · Setup guide
Blumat Classic Setup: Reservoir Height, Priming and Trial Checks
By James Thompson
Some links in my articles are affiliate links. I may earn a commission when you buy through them.
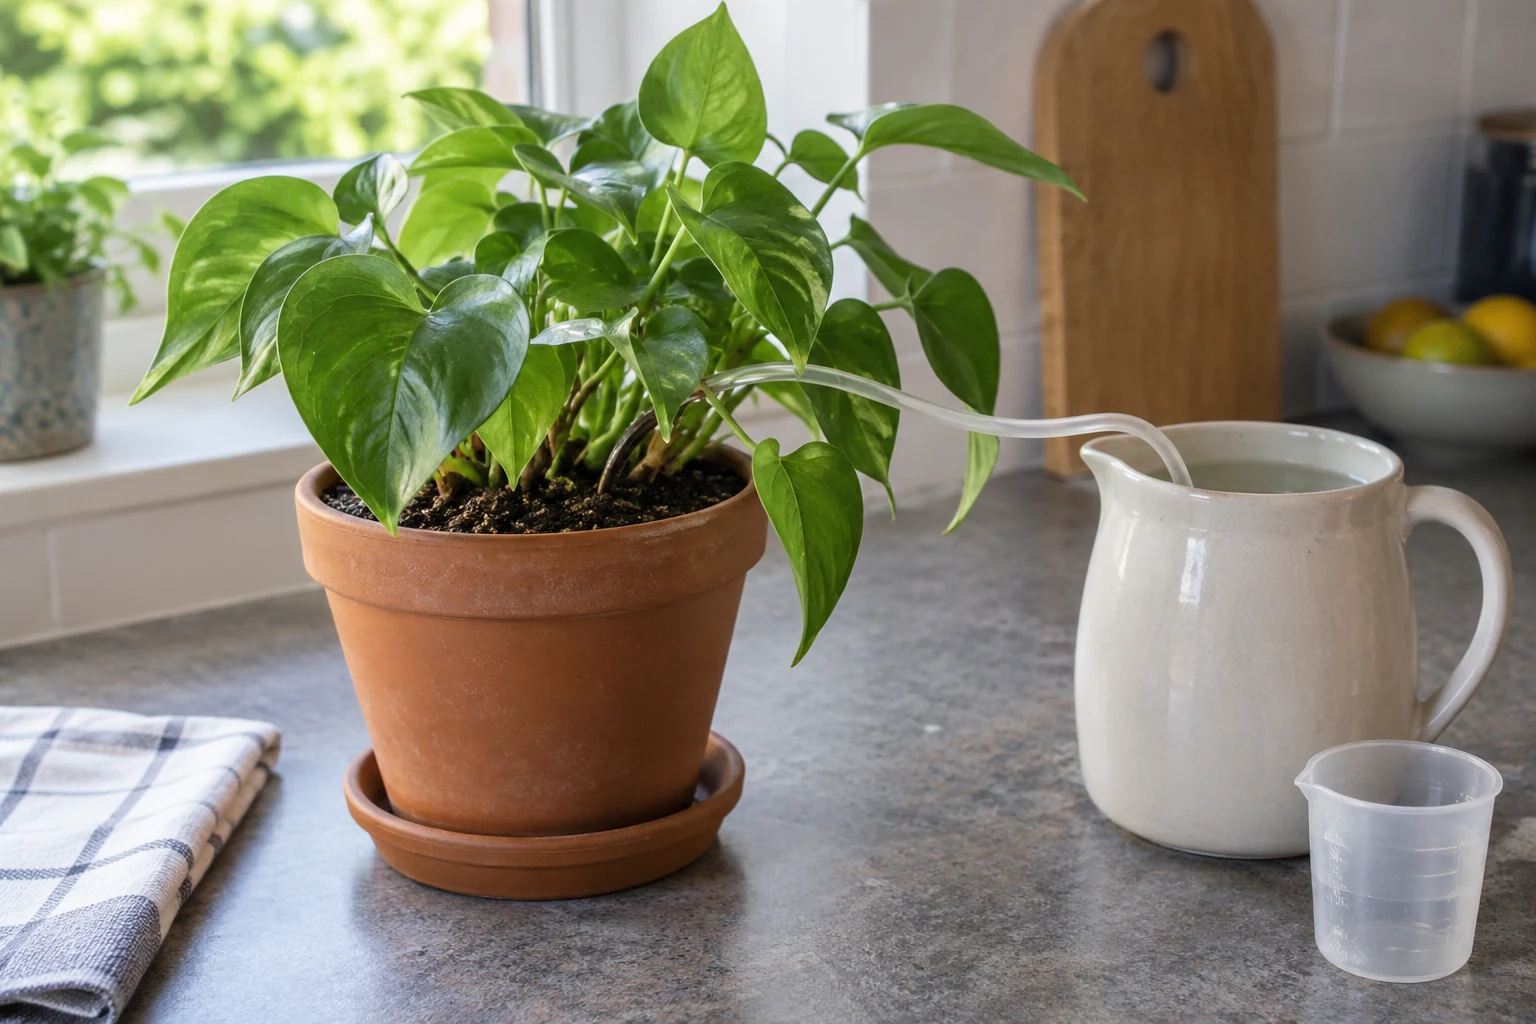
For Blumat Classic’s normal moisture-responsive setup, position the reservoir water slightly below the cone’s cap. Fill the cone completely, close it securely and establish good contact between the ceramic section and the compost. Then trial that exact pot and reservoir arrangement before relying on it while away.
Reservoir height is a control on delivery, not merely a convenient place to stand the jug. A high water level can keep supplying a pot that is already wet; a much lower level reduces delivery. If the container runs dry, refill and re-prime rather than assuming the system has restarted properly.
Table of Contents
ToggleCheck that you have Classic, not Tropf-Blumat
This guide concerns the Blumat Classic ceramic cone with a tube drawing water from a separate container. It does not describe Tropf-Blumat drippers or their supply arrangements. Confirm the product name on the packaging before applying the reservoir advice.
Classic is useful when an existing pot has room for the cone and the nearby water container can sit in a suitable stable position. A tightly packed root ball, a plant that needs pronounced dry intervals, or a pot far from any safe reservoir location may point towards another method.
Do not select the number of cones purely by counting pots. Pot volume, compost and the plant’s demand affect the result. A large, fast-drying plant needs particular scrutiny during the trial; adding hardware without observing moisture does not establish a suitable supply.
Prime the cone and place it carefully
- Prepare the pot. Water according to the plant’s normal needs and let excess drain. The trial should begin with a known starting condition, rather than a severely dry root ball that obscures how the system behaves.
- Fill the cone. Remove the green cap, fill the ceramic cone to the brim with water and refit the cap securely. Follow the instructions supplied with your exact Classic version.
- Insert the ceramic section. Place it in the root area with the ceramic in contact with compost. Avoid forcing it through roots or leaving an air gap around the cone.
- Place the pickup in the reservoir. Keep the tube end in the water, without a kinked or pinched route. Secure the container and tube so an ordinary knock cannot pull the pickup out.
- Set the water level. Begin slightly below the cone cap, as Blumat’s Classic instructions show. Check the level of the water itself, not the top edge or base of the vessel.
Use a protected surface and a suitable tray under the plant. Keep the arrangement accessible so you can inspect both the pot and reservoir without repeatedly disturbing the cone.
How reservoir height changes the result
| Water level relative to the cap | What the manufacturer describes | What to check |
|---|---|---|
| Slightly below | Intended moisture-responsive arrangement | Does this pot remain suitably moist without standing drainage water? |
| Much lower | Reduced water delivery | Does the pot begin drying as the container empties? |
| Above the cap | Continued delivery even in moist compost | Risk of excess watering; lower the water level and reassess. |
These relationships come from the Blumat Classic instructions. The manufacturer’s indicative quantities cannot tell you exactly what your plant will receive.
The water surface falls as the reservoir is used. A setup that behaves acceptably just after filling still needs checking near the intended refill level. Mark both levels on the outside of your container so a helper can refill without accidentally changing the starting height.
Run a useful one-to-two-week trial
Blumat advises a trial before leaving plants unattended. Give yourself one to two weeks to watch the final arrangement, allowing time to correct problems. A longer absence is a reason for more confidence and a fallback visit, not a reason to shorten the trial.
At roughly the same time each day, record the reservoir level, how the compost feels at a suitable depth and whether water remains in the tray. Use the plant’s normal moisture requirements as the reference. Surface colour alone can mislead when the top dries but the lower pot stays wet.
Do not invent a precise daily dose from a falling jug level. With several cones sharing a container, that fall is their combined use, plus any evaporation or spillage. It cannot show how the total was divided between pots. Inspect every plant separately.
Trial the reservoir towards its lower operating level as well as when full. If changing height, cone count or position, change one factor at a time and record what changed. Otherwise a wetter pot gives you little evidence about which adjustment caused it.
If the pot is too dry or too wet
The reservoir is full but the compost is drying
Check that the pickup remains submerged, the tube is not pinched and the ceramic still contacts the compost. Revisit priming and the cap seal using the supplied instructions. A container placed much lower than the cap can also restrict delivery.
If the arrangement is intact but the plant continues to dry, its needs may exceed what that setup supplies. Do not wait for wilting to prove the point. Return to ordinary care while reassessing the method.
The compost stays wet or the tray fills
Check the reservoir water height first. Lowering a water level that sits above the cone cap addresses a known cause of continued flow. Empty drainage water and reassess whether that plant should receive steady moisture at all.
The reservoir ran empty
Refill and re-prime the cone in line with the Classic instructions. Check the plant’s condition and repeat the trial. A larger reservoir can provide more capacity, but changing its shape or position may also change the range of water heights.
Decide whether to buy or expand the setup
If you need a small complete set, the Blumat Classic three-pack on Amazon UK is the Classic route checked for this guide. Confirm the selected pack quantity and that cones and reservoir tubes are included. Tropf-Blumat parts are a different purchasing decision.
Buying extra cones is most useful after the trial identifies a delivery shortfall in an otherwise suitable arrangement. For many plants with very different requirements, or a room without safe nearby reservoirs, compare other methods before expanding.
For the wider departure routine, use the holiday watering checklist. It includes the practical handover to a helper rather than relying solely on a full container.
Care and source notes
Keep the water container clean; Blumat recommends an opaque container to reduce algae and periodic cleaning of the system. Inspect the ceramic and tube when resetting it for another trip. Follow the current instructions supplied with your product if they differ from the linked edition.
The primary references are Blumat’s Classic product page and its English Classic manual, checked on 14 October 2026. The RHS holiday-care guidance provides the wider plant-care context.