
Search
Solar watering · Setup guide
Hozelock Solar Select Setup: Branches, Anti-Siphon Valve and Start Time
Some links in my articles are affiliate links. I may earn a commission when you buy through them.
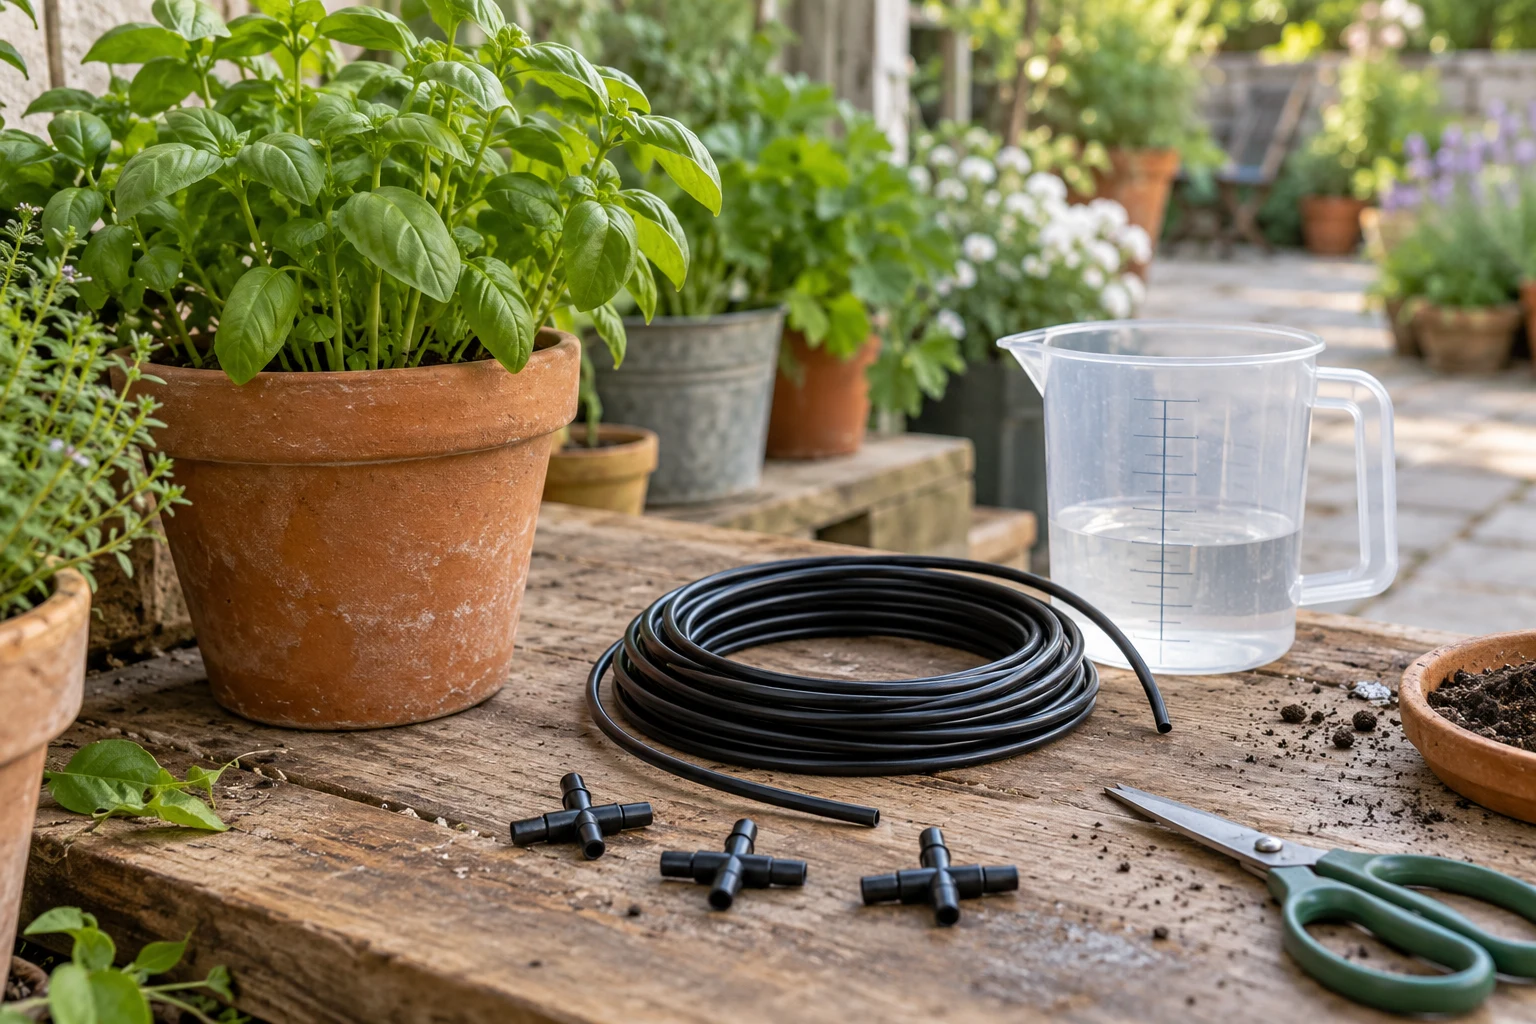
Fit the anti-siphon valve on the controller’s OUT side, more than ten centimetres above the tank’s maximum water level, and split the drippers into branches. Hozelock specifies at least eight drippers overall, no more than ten in a chain and preferably no more than eight per chain. Keep the controller in direct sun and outside the water.
Once the completed layout is charged and checked, use START TIME to establish the programme’s starting time. Turning straight to a different programme later retains that start time. This guide follows the Solar Select 100-101-033 instructions; keep the supplied manual beside you for its diagrams and button symbols.
If you are still deciding whether the layout will fit, start with the Solar Select buying and layout checks before cutting the hose.
Position the controller and filtered intake
Choose a stable, ventilated position where the panel faces direct sunlight. The hook can act as a stand, a wall-hanging point or a pot-side support as shown in the manual. Keep the controller out of the water and follow the diagram’s separate height limits: controller no more than one metre above the water surface, highest outlet no more than two metres above the controller, and filter no more than 2.5 metres below it.
Check the water-surface measurement at the lowest intended operating level. Keep the filter submerged, clear of bottom sediment and able to remain underwater throughout the planned runs. Connect its hose to IN. The system is for stored water, not a direct connection to the household supply; do not add fertiliser or pump salt, dirty or contaminated water.
The overall lift from the lowest water level to the highest outlet should ideally be below two metres for best performance, according to Hozelock. Do not treat the larger combined outer limit as a target for every installation.
Fit the anti-siphon valve before routing branches
Connect the anti-siphon valve on the OUT side as shown in diagram 7. Its position must be more than ten centimetres above the highest water level the container can reach, not just today’s partly empty level.
Without that valve, outlets below the reservoir’s water surface can continue drawing water after the pump stops. A controller that has completed its timed run therefore does not, by itself, prove that water has stopped leaving the tank.
Use T-connectors to divide the outlet hose into branches and the supplied elbows at tight corners. Keep each chain within the ten-dripper maximum; the manual recommends eight for best performance. An eighteen-outlet arrangement could use three chains of six, keeping at least eight outlets across the whole system. Close every unused hose end with the supplied plugs.
Place outlets at similar heights where possible and secure them beside the plants they serve. Do not extend the supplied twenty-dripper arrangement without the manufacturer’s further instructions.
Charge the supplied batteries before the first programme
With the dial at OFF, fit the three supplied AA Ni-MH batteries in the marked polarity and replace the battery cover. Hozelock warns against substituting other batteries or mixing batteries. For replacements, use the specification inside the cover and the current instructions.
If you have not used a compatible separate charger, leave the panel in direct sun for eight hours with the dial at OFF. Avoid manual watering during that initial charge.
The battery-check function uses the battery-symbol button: hold it for more than two seconds. Green indicates sufficient charge to run the pump; red indicates low charge. No light means the batteries are completely flat, and the manual says to recharge them and reset the automatic start time.
Set the start time, then choose a programme
At the time you want the schedule to start, turn the dial from OFF to START TIME. Wait for the LED to flash once, then select the required programme. Watering starts after a short pause and repeats at the chosen interval.
You cannot use this control to enter a later start time in advance. If you do not want the first run, the manual allows you to cancel it with the WATER NOW button; the next scheduled run follows the chosen interval. Check the button symbol in the supplied manual.
Changing directly from one automatic programme to another retains the original start time. For example, changing to a six-hour frequency calculates the further runs from that saved start. Use START TIME again when you actually want to reset the reference time.
Set the frequency and volume around the plants’ needs, then inspect moisture during normal use. The manual’s average per-outlet volumes are planning figures: a fifteen-minute run is listed as 150ml, while a thirty-minute run is 300ml.
Check delivery and stopping before leaving it unattended
With enough water and charge, use WATER NOW to fill the hose and inspect every outlet; stop it early if necessary. Its manual cycle runs for twenty minutes unless stopped. Check for kinks, open ends and leaks, then use a catch test to compare outlet delivery. Higher outlets and restrictions can change the result.
After stopping, watch the outlets and reservoir for continued flow. Recheck the anti-siphon arrangement if water keeps drawing from the tank. Test the final layout with the container full as well as checking intake coverage near its lowest planned level.
Confirm an automatic run at the expected time while you are home. Check the compost as well as the water collected at the outlets, then adjust the programme if necessary. Use the actual delivery and planned number of runs to check reservoir capacity; the holiday watering checklist covers the final absence checks.
Rain delay must be deliberately selected for one, three or five days; it is not a rain sensor. Manual watering can still run during a delay. If the pump will not start, check charge first. If it runs without delivery, check the submerged intake, IN connection, filter, kinks and open hose ends before buying replacement parts.
Source checked 17 October 2026: Hozelock Solar Select 100-101-033 operating manual, diagrams 3–9 and English pages 6–8.